UniFi Controller on Windows
Not Fully done
This Article will describe a way off installing the Unifi Controller on a Windows System with all it's prerequirements and running it permantly as a service. Sometimes you don't have a physical Cloudkey or running in a Linux enviroment where normally a Controller would be installed. So that might force you to install it on Windows, which needs to be done right in order to run it as a service
Prerequirements
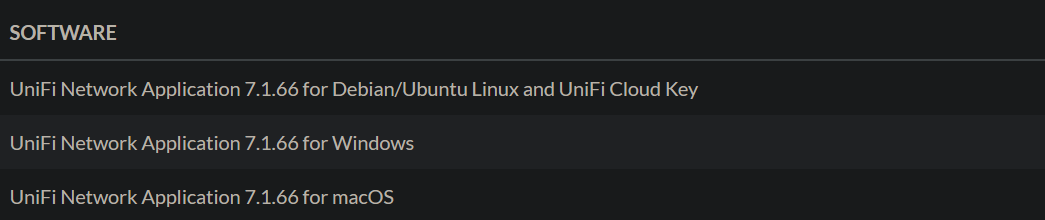
- Download of Unifi Controller (Link)
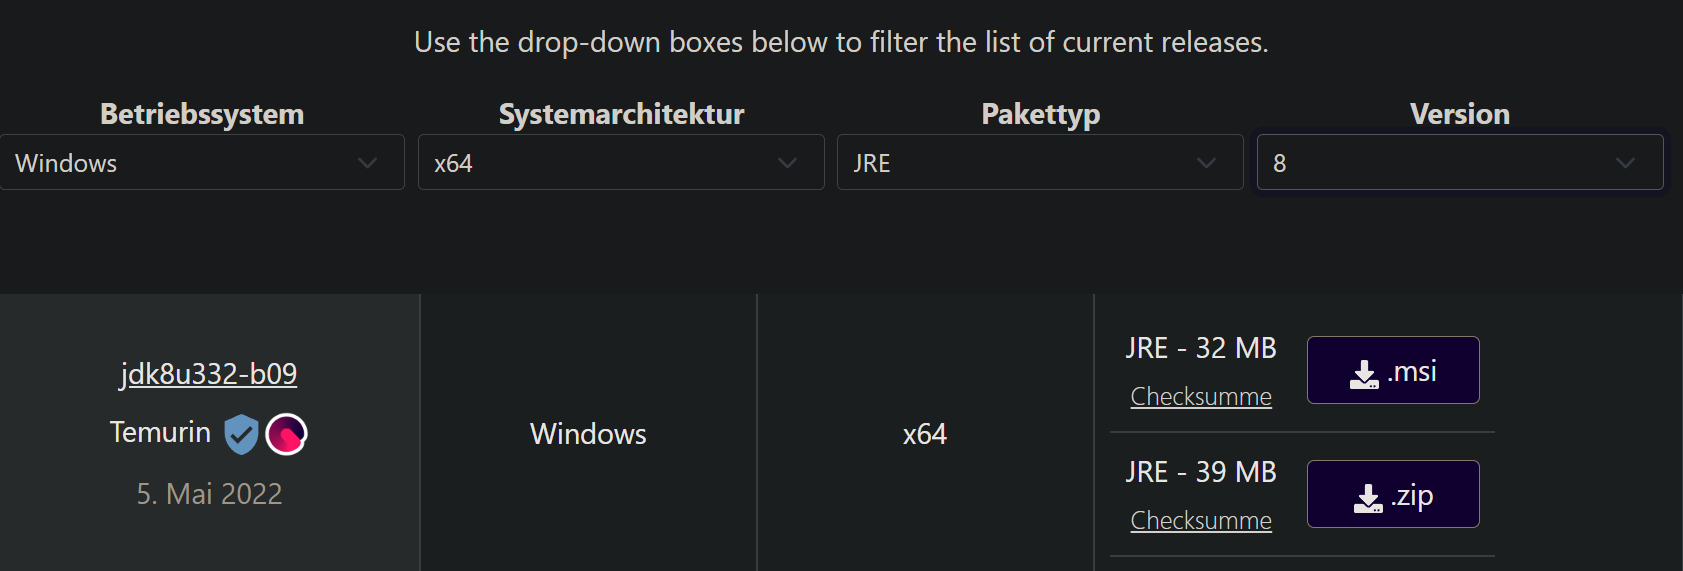
- Download of Adoptium OpenJDK 8 (Link)
Make sure to download Version 8, x64, JRE
Installation
First Install the OpenJDK Package, set up the following options on the setup, so you don't need to fiddle arround later with Registry or the Service itself.
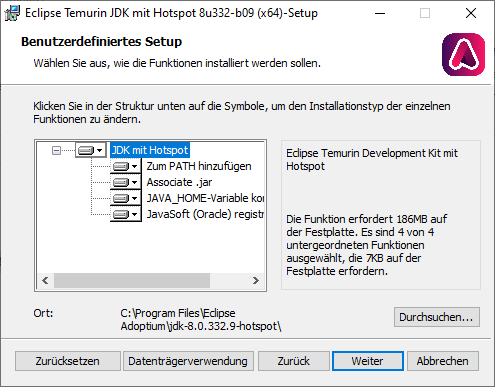
Other than that it is pretty much just next, next and finish of the setup.
After that the Controller Setup needs to be installed, for that just run the setup as usually, there aren't any options you can set. It will however install the Controller in the Homefolder of the user the setup is run with, if we install it as user "Administrator" the Directory is put here: "C:\Users\Administrator". We later will change that.
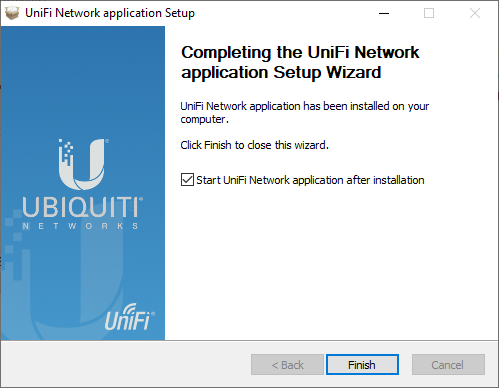
After Finishing, I will let the Controller start one time, this will get you to the initial setup screen and will get the DB in place.
There will be a new window and the UniFi Network application will start
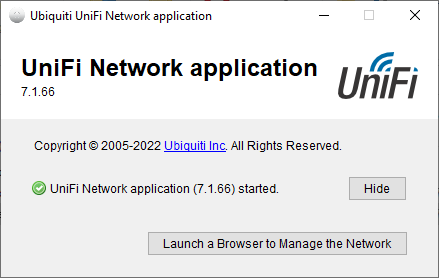
Once turned green you, I recommend to open the Browser once, so you should see the initial setup screen of the Unifi Controller.
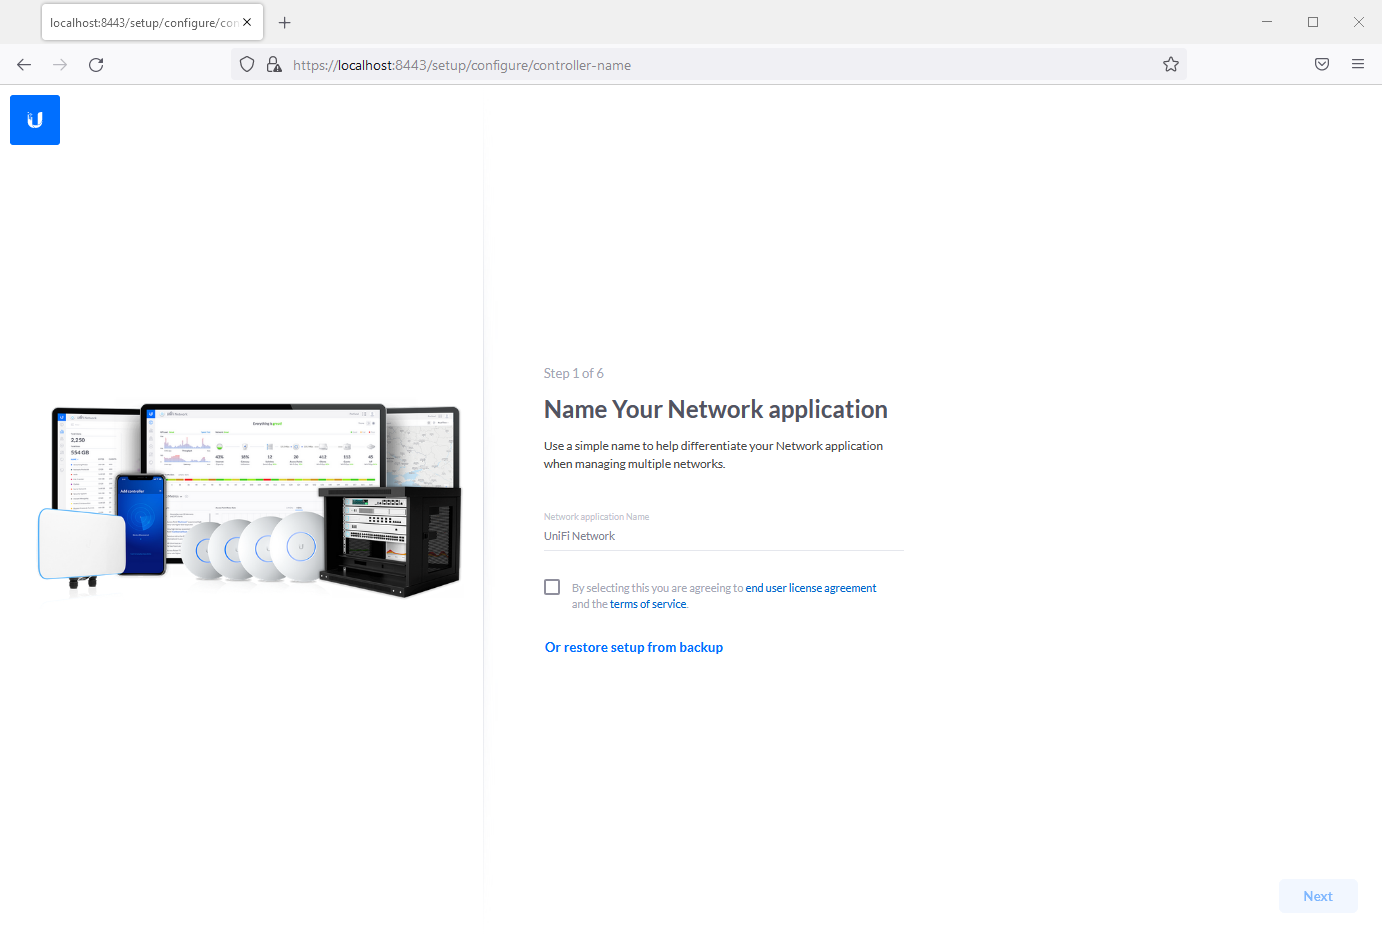
You can start making the first setup, which I will not describe here, but we aren't done yet, Firewall and Service still is needed to be done.
Installing the Service
Now that we installed everything we will put the controller in the right place and will install it as a service, that way we can access it at any time and it will automaticly restart, with our system.
First of all run a Powershell Terminal with "Administrator Rights".
We then will copy use these commands in order to move the Controller to the Program Files Directory, then Create a Symbolic Link back to the user directory, which will be used for Updates, as running the controller setup again for an Update will install it again there, then we will finally install the service.
# Move of the Folder and Files
Move-Item -Path "$env:USERPROFILE\Ubiquiti UniFi" -Destination "C:\Program Files\"
# SymbolicLink for the Folder back to the user Directory, for Updates
New-Item -ItemType SymbolicLink -Path "$env:USERPROFILE\Ubiquiti UniFi" -Target "C:\Program Files\Ubiquiti UniFi\"
# Installation of the Windows Service
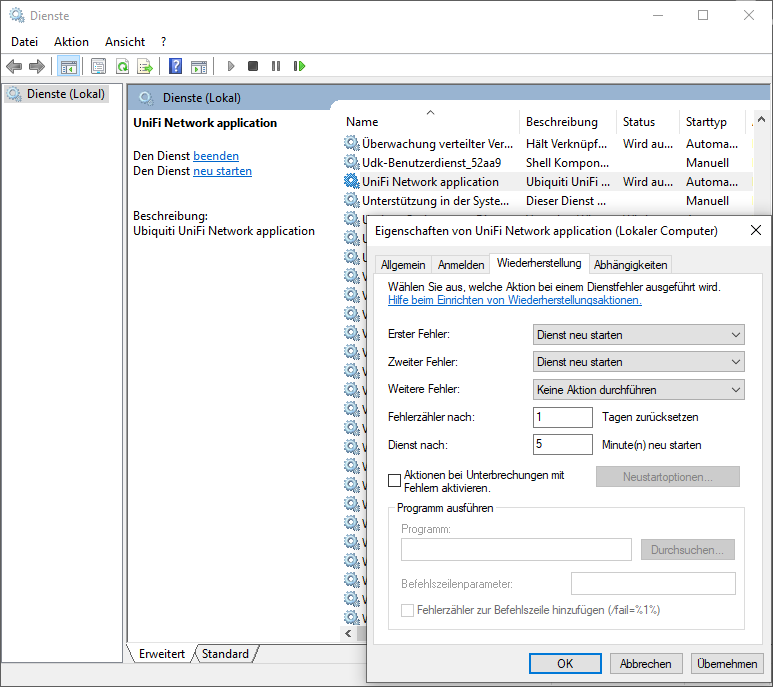
java.exe -jar "C:\Program Files\Ubiquiti UniFi\lib\ace.jar" installsvcAnd thats about it, now you should see the service in Windows
Installing Updates
As the normal procedure with running the update through the webinterface will not work, we have to do it manually, one downside of this. For that we have to keep one procedure in mind, we will use the command line for that too. Start an elevated command prompt for that.
- Stop the Service
- Delete the old Windows Service
- Run the Setup of the new Version, Setup downloaded from Unifi Website
- Setup the Service Again
- Start the Service
Uninstalling the Service
If you want to remove the Unifi Controller Installation of your System.
- Uninstall the Service
java.exe -jar "C:\Program Files\Ubiquiti UniFi\lib\ace.jar" uninstallsvc- Uninstall the Unifi Controller Program
- Remove Java if not needed anymore
Other things
- Information about the Controller
java.exe -jar "C:\Program Files\Ubiquiti UniFi\lib\ace.jar" infoHelp Command
java.exe -jar "C:\Program Files\Ubiquiti UniFi\lib\ace.jar" ?